
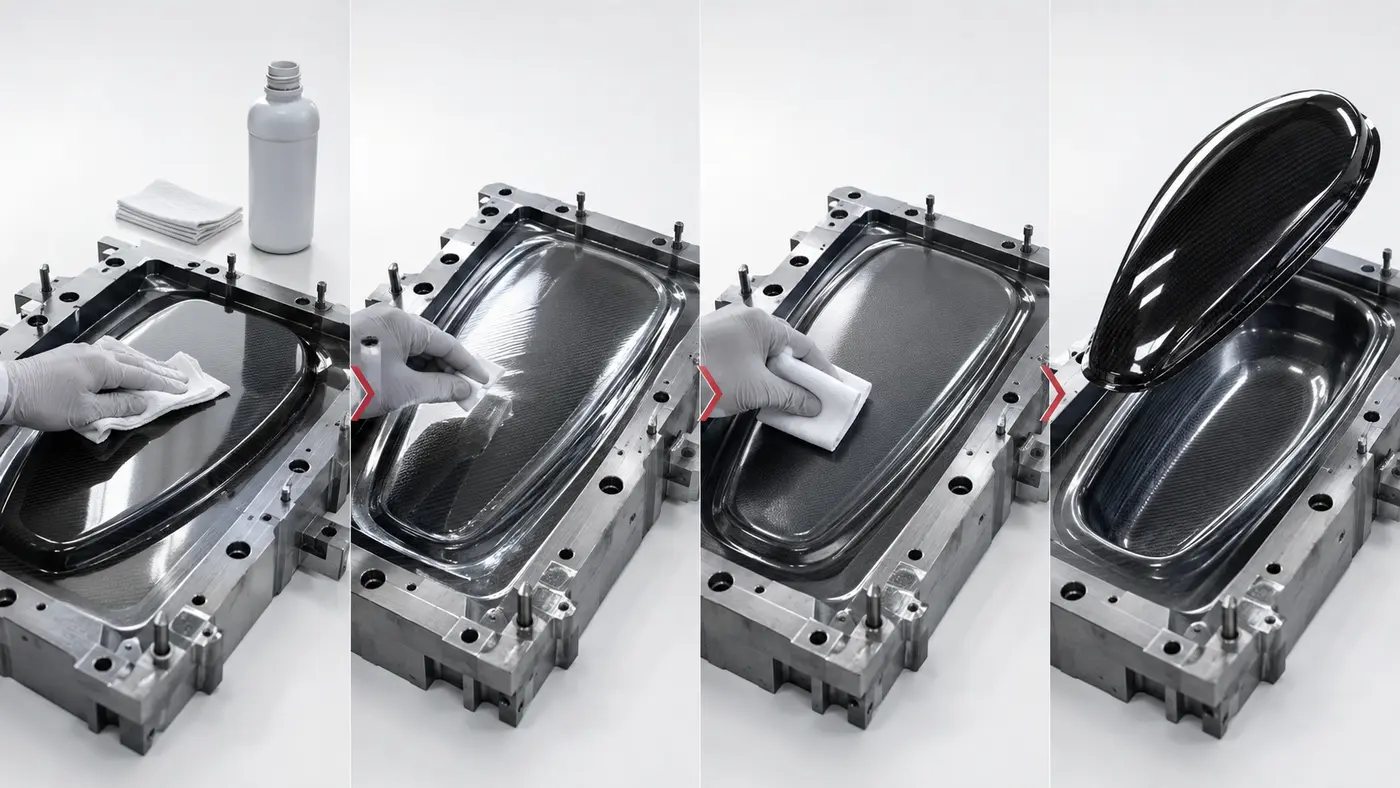
Polyurethane is highly reactive and bonds aggressively, which is exactly why demolding is difficult. A release agent that runs well on one system can cause sticking, build-up or surface contamination on another. The steps below cover how to select and verify a mold release under real production conditions.
Step 1 — Identify the chemistry of the PU system
Before selecting a release agent, define the following:
- isocyanate type (MDI, TDI or aliphatic)
- polyol system and catalyst
- fillers and additives (CaCO₃, reinforcing fibers, flame retardants)
- hot or cold cure
These factors determine adhesion, gel time, exotherm and how aggressively the PU attacks the release film. The higher the exotherm and the stronger the adhesion, the more demanding the requirements on the release film.
Step 2 — Evaluate the mold and temperature
The mold material determines surface energy and heat retention.
- Metal molds (aluminum, steel): high surface energy and fast heat transfer; usually need a sealer before the release agent is applied.
- Composite molds (epoxy/PU tooling): retain heat longer and are sensitive to the strong solvents in some release agents.
- Elastomer or silicone molds: low surface energy; require a compatible release agent so the mold surface is not damaged.
Record the actual mold temperature during production, not the set point. The gap between the two is a common cause of premature release film breakdown.
Step 3 — Define post-mold requirements
This constraint is often overlooked, yet it determines which release agents are allowed.
- Parts to be painted or bonded: require a release agent that leaves no slip layer on the part surface. Residual silicone is the leading cause of paint adhesion failure.
- Textured parts: need a thin, uniform film so surface detail is not filled in.
- Tight-tolerance parts: can go out of dimension if the release film builds up over many cycles.
If the next operation is painting or bonding, favor polymer-based semi-permanent systems or silicone-free release agents over traditional wax or silicone.
Step 4 — Establish the minimum effective coat
The goal is the thinnest film that still releases consistently.
- Standardize the application method (spray or wipe), the amount applied and the flash-off time between coats.
- Record the number of cycles between re-coats to calculate the real cost per part, rather than looking only at the unit price of the release agent.
- Watch for signs of build-up on the mold, such as dull surfaces, streaks or rising demolding force, and adjust the mold cleaning cycle accordingly.
An overly thick film does not release better; it usually causes build-up and surface contamination.
Step 5 — Test on the actual process before full production
Catalogue data cannot replace real-world testing. Test on the same PU system, mold, temperature and post-mold operation. Track at least three indicators:
- number of releases before re-coating is needed
- part surface quality
- whether the next operation (painting, bonding, texturing) can be carried out without defects
A mold release is only suitable when it meets all three indicators under your own production conditions.